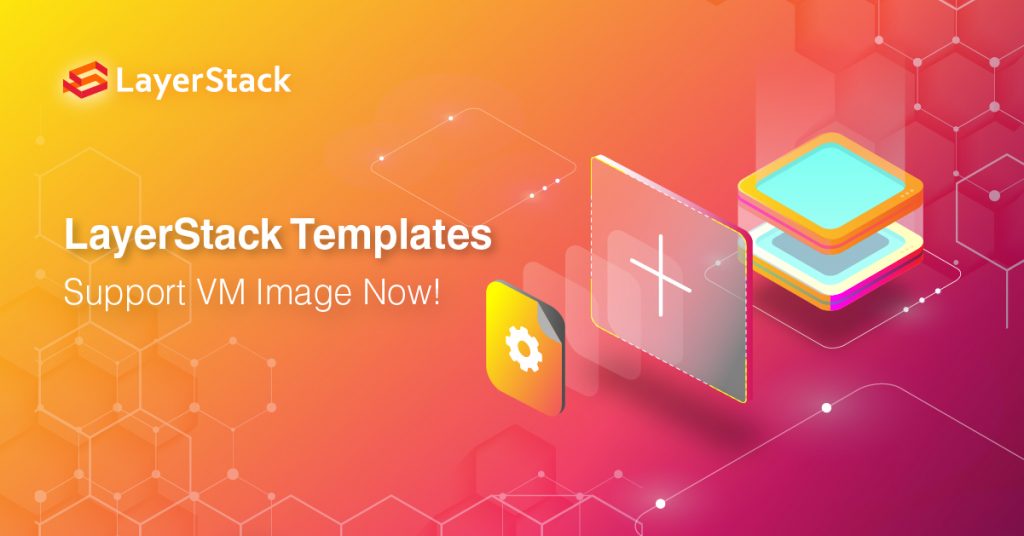
It is pleased to announce that LayerStack Templates is officially integrated with VM Import on LayerPanel. Users can export a virtual machine image from your virtualization environment to LayerStack. Those images will be shown as templates in the panel which you can use to launch instances. With the upgraded Templates function, users can benefit from the scale of LayerStack while using your own custom environment.
What is VM Image
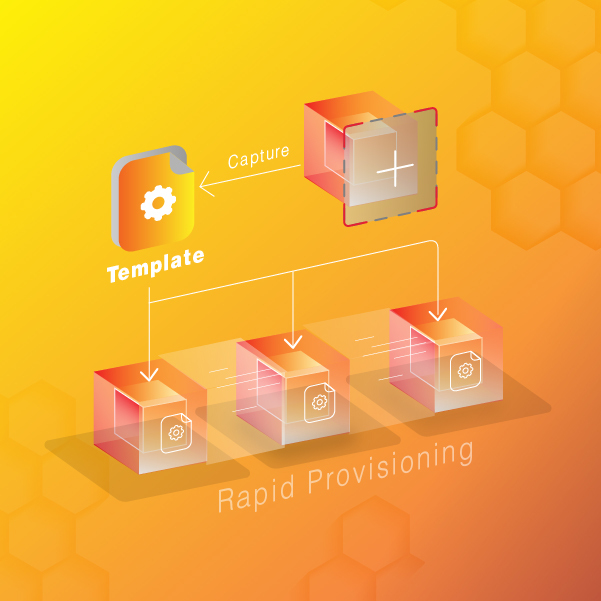
A virtual machine image is a snapshot of your disk at one point in time, those images are usually installed with operating systems and software such as databases or operational applications. VM image is useful for users to move workloads from the current virtualization environment to the cloud. Besides, It is also effective when users want to deploy multiple servers with a consistent cloud environment.
Which image formats are supported?
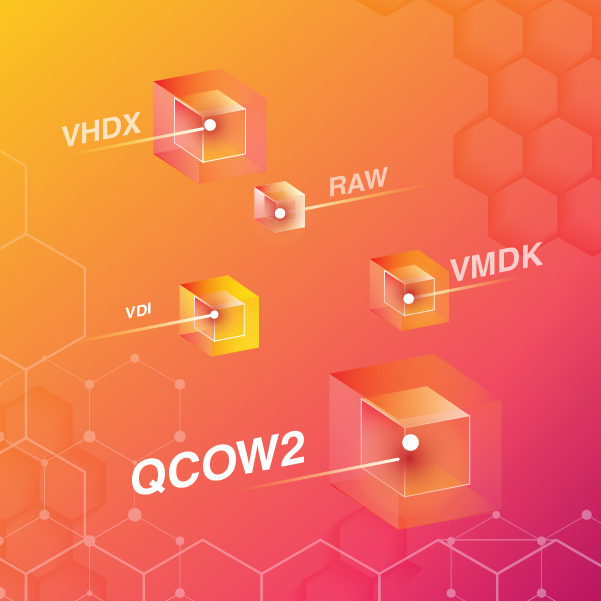
LayerStack Template is now supporting five image formats including Virtual Disk Image (VDI), Virtual Machine Disk (VMDK), Virtual Hard Disk (VHDX), QEMU Copy-On-Write 2 (QCOW2), and raw. If you are using any other image formats for cloud migration, please directly contact our CS team for a free consultation.
Pricing and Applications

Importing VM image to LayerStack Template is free of charge. Every account can create 3 templates with max. size 150GB each. Users who reached the template limit can simply delete outdated templates on LayerPanel and import new images for cloud deployments.
Quick Start Guide:
Create Template
1. Log in to LayerPanel (https://www.layerpanel.com/#/login)
2. Go to Services section and select Templates
3. Click Create or Upload to build your templates
4. It will be shown as Working on the list once the templates are successfully created.
Install the server with Custom Template
5. Select the relevant cloud server at “Service – Cloud Server”.
6. Click the Rebuild button at top right corner.
7. Scroll down the OS options and select the custom template at the bottom.
8. Follow the in-built guide and proceed with template installation.
* Let us know your comments and suggestions on LayerStack Community.